Learn how to make these resin crafts for home or gifts! These 30+ resin craft ideas are perfect for beginners. Get tips and tricks for success too!

I’ll be honest, I love it when crafts come back around. It’s happened with Mod Podge several times – as you might expect with a product that is over 50 years old. It’s nice when the next generation can enjoy something that I enjoyed as a kid. Annnnddd I just made myself sound really old.

But seriously, I do love old crafting techniques making a resurgence. And the latest to come back is a favorite of mine: epoxy resin. You may have noticed in the craft stores recently the end caps from the different brands with resin, molds, tools, etc.

You may have even seen Mod Podge Resin in the stores. But you also may not have any idea what resin is, or what you can do with it. That’s why I’m excited to share some resin crafts with you today, so you can get started with this awesome trend.

Crafting with Resin

If you’ve never used resin before, I’m going to start with some FAQs about the product as well as what you can do.

If you’re here for the resin crafts, scroll down to the bottom for an awesome list for beginners and beyond. Otherwise, let’s start with some questions to help introduce you to a whole new world of crafting.

What is epoxy resin?

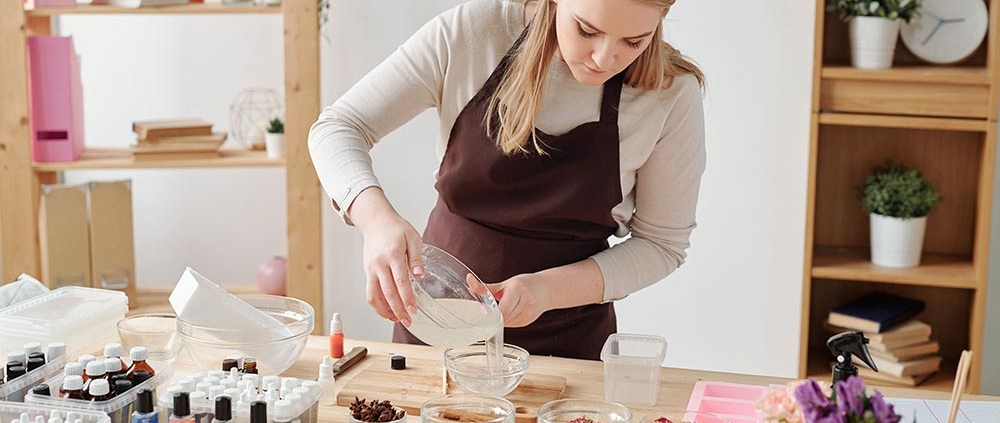
Without getting too science-y, epoxy resin is a two part liquid product that, when mixed together, hardens into a solid, clear surface. It comes in two separate bottles. Typically the bottles are mixed in a 1:1 ratio. The surface that results is waterproof, food safe, and very strong.

Because I get asked this: if you’ve heard of casting resin, it’s a type of epoxy resin. The features of casting resin is that it has low viscosity, making it ideal for things that require a thick pour (like paperweights, encasing items in resin).

Is resin art easy?

Yes. Resin crafts are not hard to make, but you do need to observe all the instructions carefully and wear the appropriate safety gear. Besides that, you’ll be mixing and pouring. My suggestion is to start small and work your way up to projects that use more resin to get a feel for it.

What crafts can you make with resin?

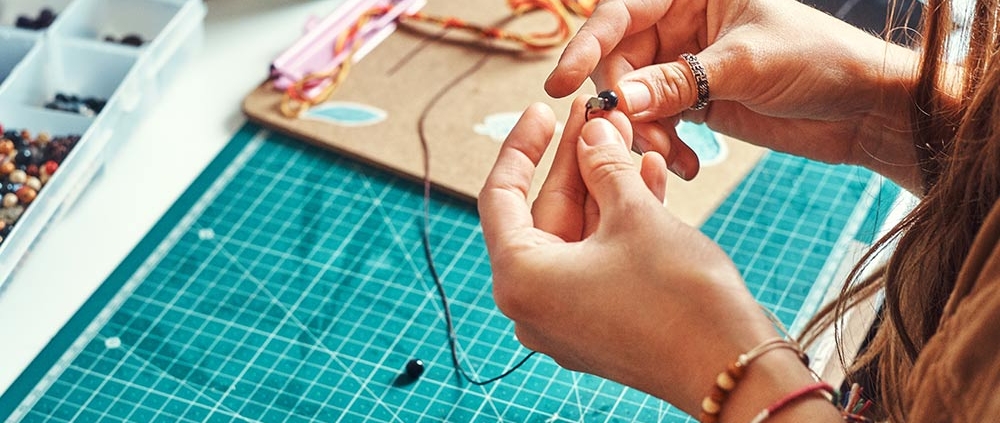
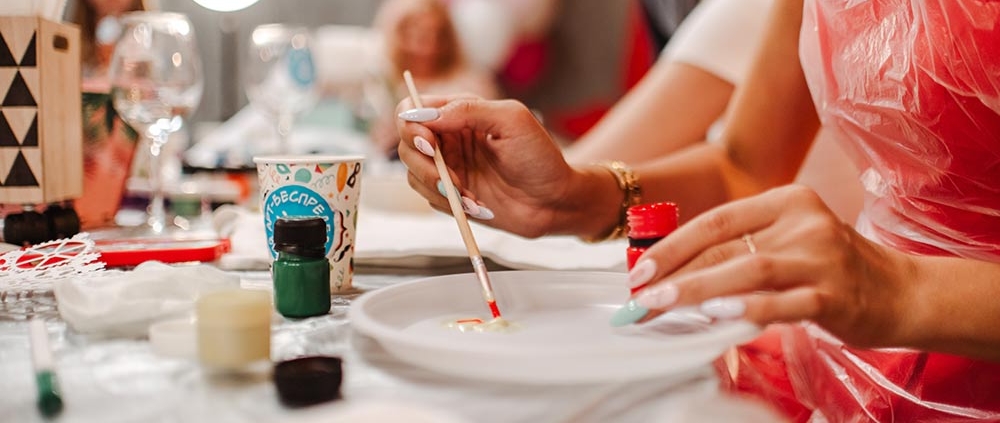
Coasters, frames, keychains, hair accessories, paperweights, tabletops, cutting boards, trays, jewelry, wall art, and more. You’ll see the awesomeness that is resin at the bottom of this post.

Why is resin dangerous?

Because when mixed, a chemical reaction takes place and resin releases fumes when curing. It’s not anything you can see like in chemistry class, but sensitive folks should definitely wear a respirator and eyewear.

Homemade jewelry is usually less expensive, and it also allows you to exercise your creativity and give someone a creative homemade gift that is truly one-of-a-kind. Initially, it might seem just a little challenging, but don’t worry you actually don’t require any special skills for this. I’ve learned how to make jewelry fairly quickly and below I will try to guide you through all the tips and techniques.

Purchase jewelry making tools. Depending on what kind of jewelry you plan to make, you’ll probably need some basic tools to complete your project. Some basic tools all beginners should consider having include.

  • A variety of pliers – round nose pliers, chain nose pliers, step jaw pliers, bent closing pliers, and nylon jaw pliers
  • A metal ruler that measures both centimeters and inches
  • Wire cutters
  • Practice wire, to practice bending and shaping you wire before you attempt to bend your more expensive wire for your actual project
  • Peg boards for bending wire

Pick out a specific jewelry project you want to try. Because there is such a variety in possible pieces of jewelry (necklaces, bracelets, earrings), made out of many possible materials (beads, wire, string, resin, paper, etc.), pick out a material and piece of jewelry you want to work on making. Find inspiration by visiting jewelry stores or looking online at social platforms, visual organizational websites, or jewelry retailer websites.

Buy a jewelry kit. For an easy transition into jewelry making, visit your local craft store and buy a jewelry making kit. Jewelry making kits provide you with basic supplies and tools that allow you to customize different jewelry pieces and make them all your own. Most kits come with some basic instructions with different jewelry ideas, but you can use your imagination to create whatever kind of jewelry you want.

  • There are many variations of jewelry making kits depending on what specific kind of jewelry you want to make.
  • For example, there are beading jewelry kits, stringing jewelry kits, and wire jewelry kits, just to name a few.

Purchase handmade jewelry supplies. Handmade jewelry can be crafted with many different kinds of supplies, but there are a few basic supplies that are used on most handmade jewelry pieces. Jewelry kits can provide you with general or project specific supplies, but if you plan to start making jewelry without using a kit, you need to purchase some supplies on your own. Consider buying some:

  • Beads
  • Jewelry wire in common gauge sizes (18, 20, and 22); 20 gauge is best for beginners
  • Clasps and closures
  • Jump rings

Become familiar with basic jewelry measurements. In order to determine how big or small you want your jewelry piece to be, familiarize yourself with some basic jewelry measurements. There are common, standard sizes for necklaces, and bracelets (depending on if the jewelry is for men or women), and how long you want the piece to hang.

  • For example, different necklace styles are certain lengths. Chokers are about 14 – 16 inches in length, princess style necklaces are about 17 – 19 inches in length, and rope necklaces are about 34 inches in length and longer.
  • Necklaces that fall just below the collar bone tend to measure about 17 inches for women, and about 20 inches for men. Common bracelet lengths measure about 7 inches for women, and between 8 – 11 inches for men.

Candle making with kids

The holidays with kids are pure magic! Being together, creating a cozy little place for our family, taking time off from work, and most of all, no stress! Ha! Not quite. When you realize you are late on buying Christmas gifts for your family, or forgot a few people on your list, there’s no need to worry. Today, I am going to show you the secret gift that will fit perfectly in the cozy ambiance of the holidays and makes everyone shine!

Candles made by the little hands of your children are the perfect gift for everyone on your list. No doubt that grandma and granddad or your kids’ godparents will be charmed by this thoughtful and original present. Plus, holiday candle-making with kids is the perfect activity to keep your little ones busy on a cold and wet winter day!

The magic of candles

The holidays without candles don’t really feel the same, don’t you think? The jumping flickering little yellow light brings joy and magic into your house. The moment I light candles around our home, my girls will be next to me asking to blow out the candles. Some invisible power just pulls them towards the light.

I have to admit, fire really scares me. Fire can be dangerous, so please approach this activity (and anything having to do with fire) with the utmost caution. Give your kids constant reminders of fire rules and safety. When our girls were tiny, I would be the first to tell the girls to be careful and stay away from the candles. Now that they are bigger and aware of the danger we’re able to enjoy the beauty together, with a bit less stress.


The history of candles and candle making

Candles have come a long way since their initial use. For more than 5,000 years candles were used as a source of light. Little is known about the origin, but Egyptians were already using candles in 3.000 B.C. Papyrus and beeswax were the base for these wicked candles. Worldwide different ways were found to mold candles. Ancient Chinese candles are said to be made of wax from insects combined with seeds, Japanese candles were made of wax extracted from tree nuts. In India, candle wax was made by boiling fruit of the cinnamon tree. We are very happy to see that this tradition has been kept, as cinnamon is our favorite candle scent!

Holiday candle making safety

Before you begin making your own candles with hot wax, we’ve got some safety groundrules to cover. Make sure you are able to make your candles in a safe location and with the proper equipment. When melting wax, I use a stable pot on our kitchen stove. Make sure you also warn your children about the heat and keep them at a distance. My girls can sit around our kitchen island nearby, so that they can see and follow the process from a safe distance. When pouring the wax, the girls kept a distance good distance to maintain safety. Take your time for this creative activity. It will take you a couple of hours for melting to decorating (and cleaning for the parents).